 My son is exploring different kinds of cells as part of his microbiology unit study. He loves making things out of food, so he wanted to make models of the different kinds of cells in the kitchen. First he drew a picture of the cell model and then he had to figure out a way to make them in the kitchen.
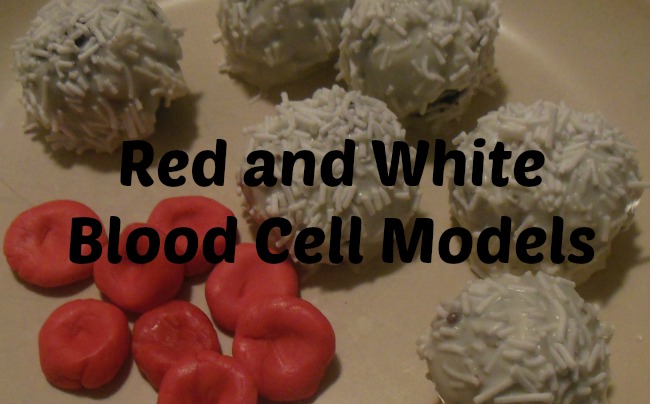
He searched online to discover different options and found an idea for white blood cells made out of cake pops. He doesn’t like coconut, so he figured that white sprinkles would make a good substitute. He wasn’t satistfied with any edible red blood cell models online so he decided that Starburst candy would be a good choice.
To make the white blood cells:
- Crumble cake into a bowl and mix with frosting until it makes a dough.
- Form them into balls and place them in the freezer
- Dip the balls into white chocolate.
- Roll around in white sprinkles….Well, this step didn’t work so well. It worked better to sprinkle the balls with the white sprinkles.
- Set them on wax paper to dry.
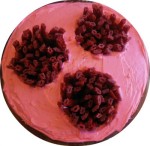
To make the red blood cells:
- Unwrap red Starburst candy.
- Place several on a microwave-proof dish and put it in the microwave.
- Heat for 10-15 seconds.
- Mold each Starburst into a donut-like shape.
- They harden quickly. Reheat if necessary.
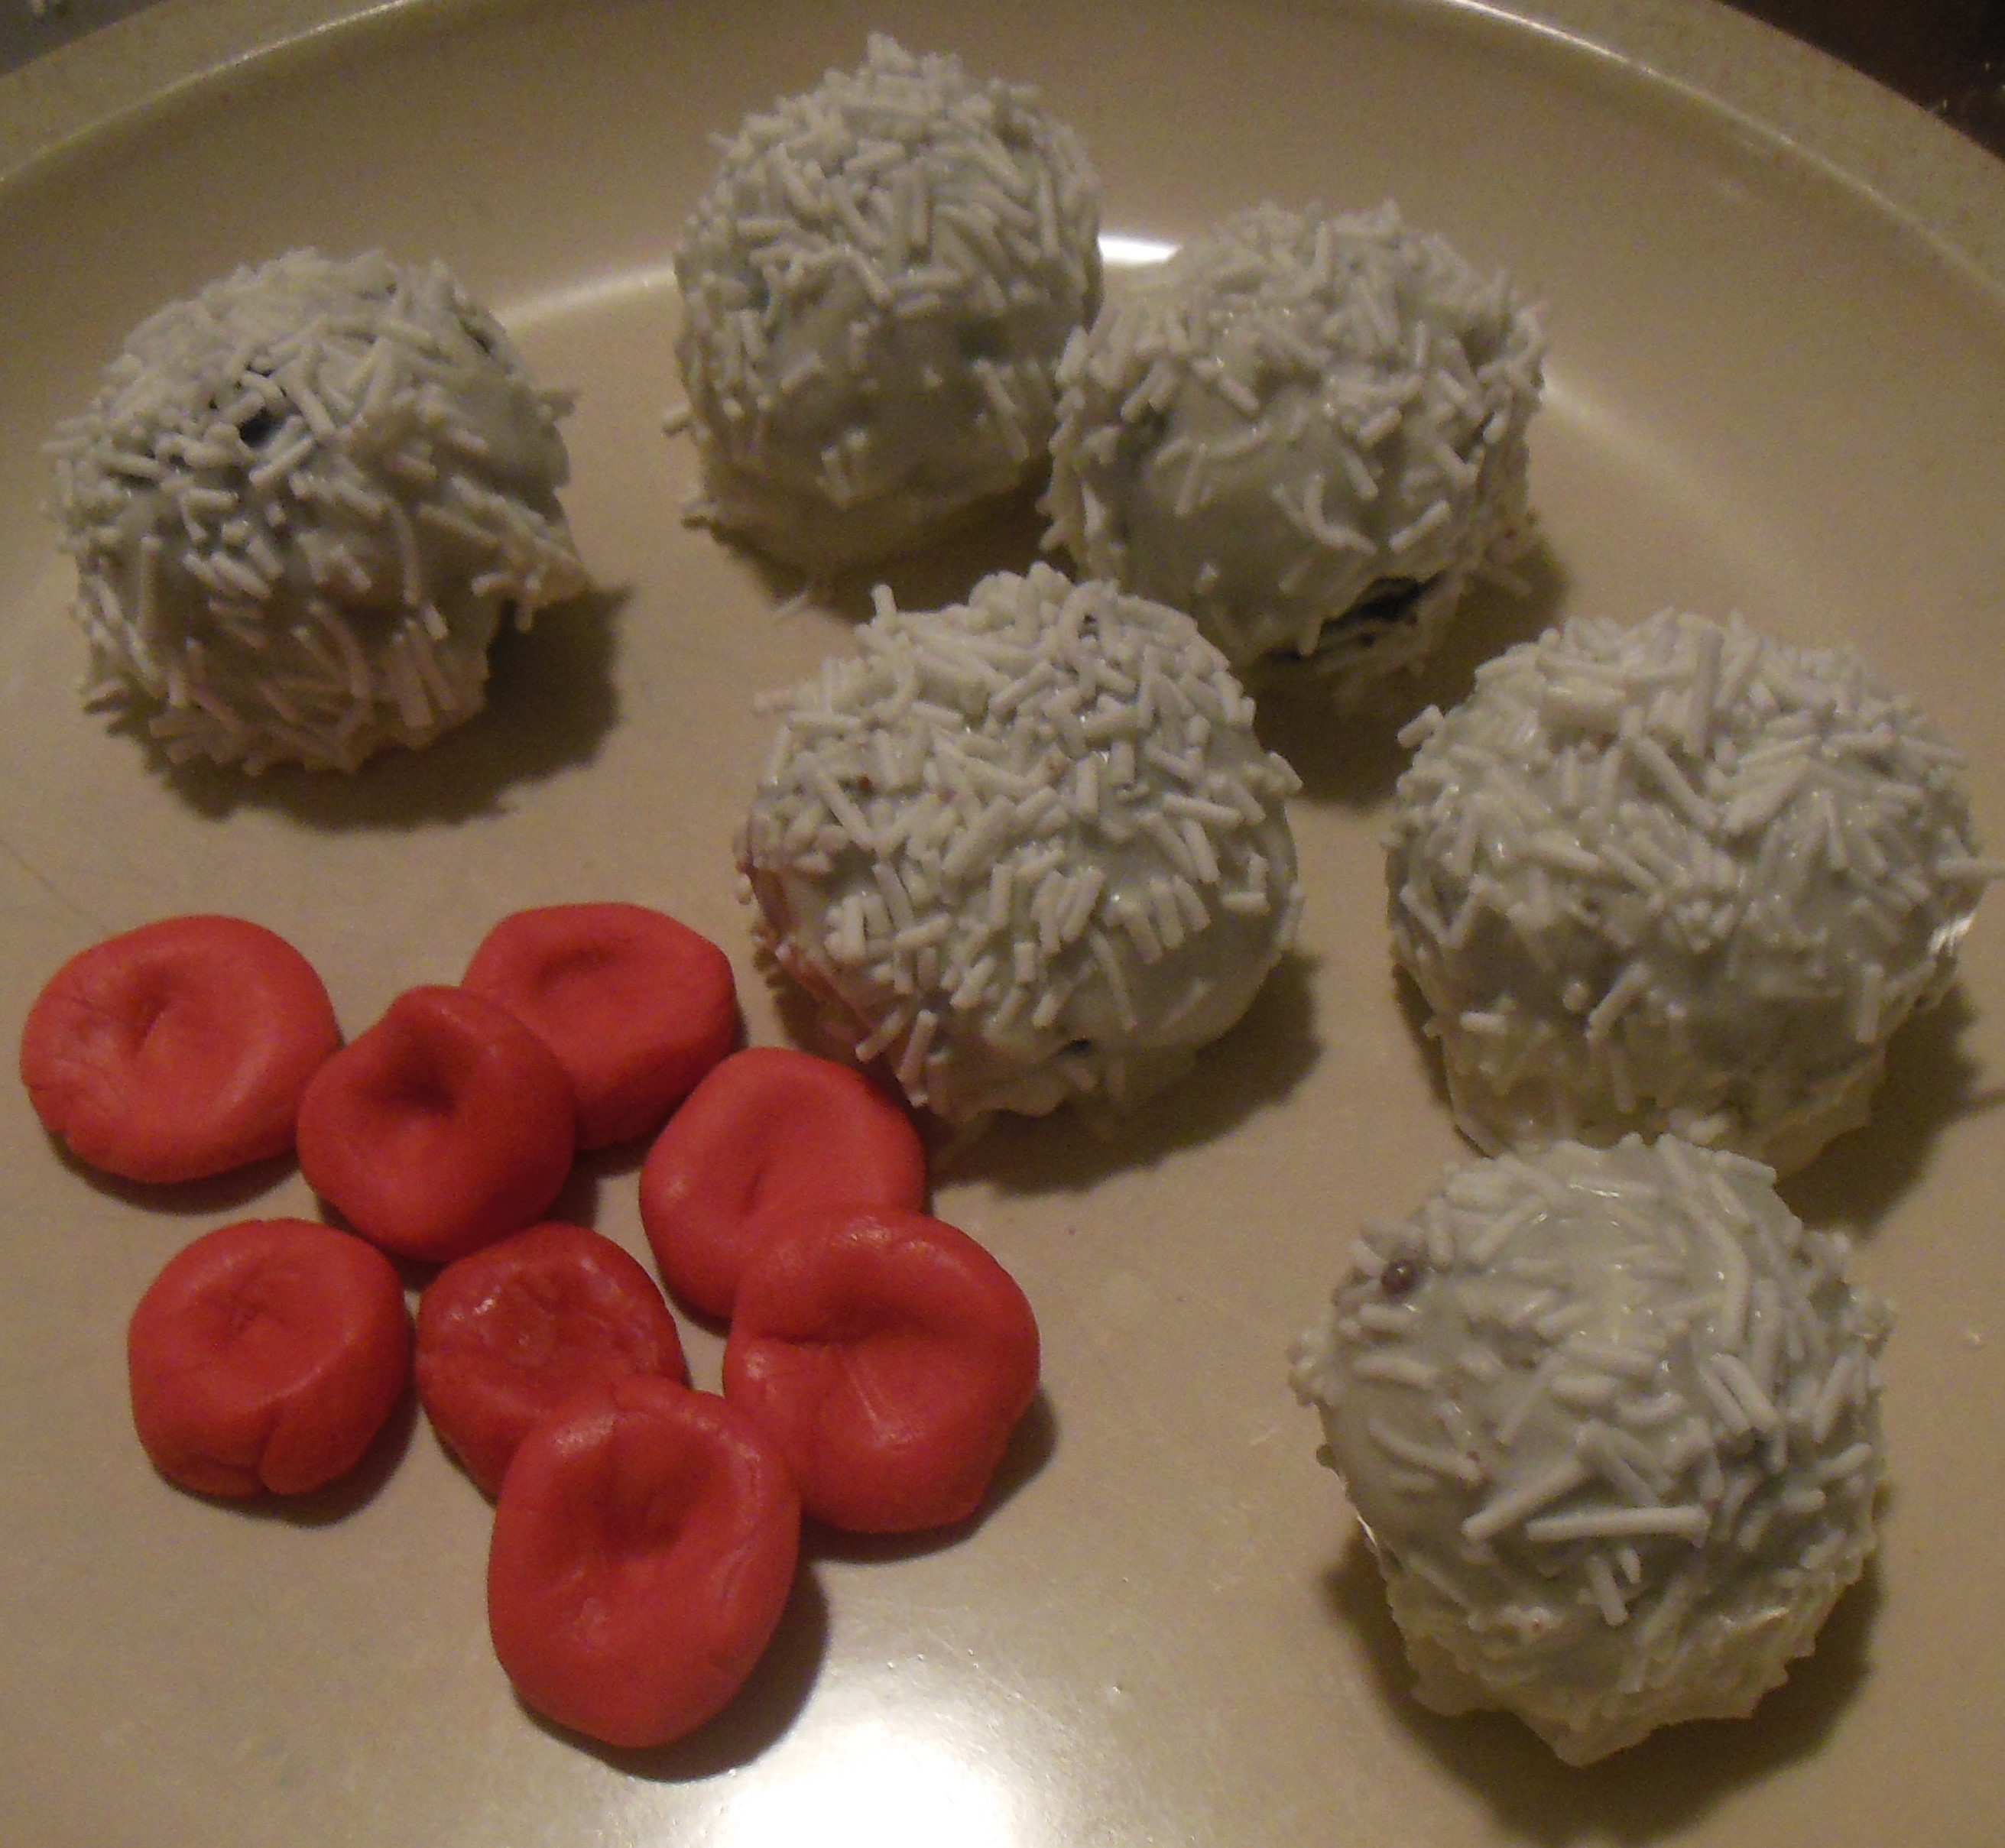
The final product:
My son also recently made some osteocyte cells which are star-shaped cells found in bones. We looked at different ideas for making the cells, but they were pretty complex involving special ingredients and a bit of skill. I asked my son if he wanted to skip this one, but he insisted that it was one he wanted to do. We finally agreed on a simplified version of an osteocyte cell.
To make the osteocyte cells:
- Melt chocolate chips
- Place melted chocolate in a ziplock bag and fasten a hair band on one end to secure all of the chocolate inside.
- Spread out waxed paper on a table.
- Snip off a corner of the baggie. If the hole is smaller, you will have more control of the chocolate.
- Squirt the chocolate into an oval shape and then zig-zag and swirl a pattern around the oval.
- If desired, place something in the middle of the oval before it dries. My son added a pretzel piece to represent the Haversian canal.
- Place in freezer to harden.
- Carefully remove them from the waxed paper and eat.
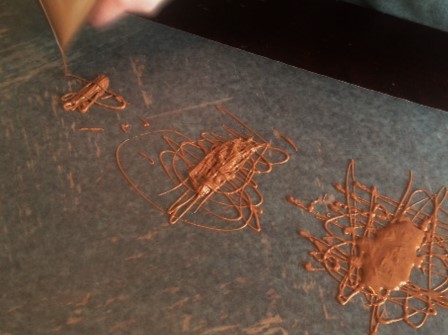
This is a picture of my son forming the osteocyte cells. The wax paper just needed a little shake once he was done in order for the center to become smooth.
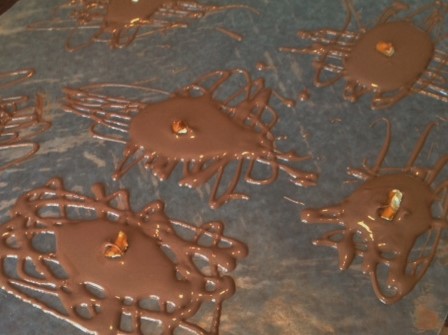 The finished project!
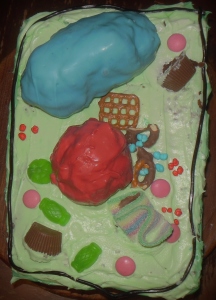
Next up, he has plans to make a skin cell model. He wants to recreate the one he did several years ago.