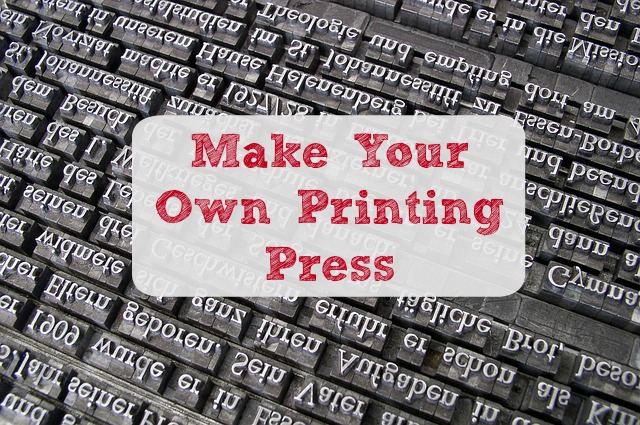
My 7 year old and I are learning more about the history of English in her Fun with English Unit Study. Hands-on learning is my daughter’s preference so we got a little messy and made our own printing press with things we had around the house.
We used:
- Washable paint
- A paintbrush
- Packing tape
- Paper
- Mini white board or cookie sheet
- Plastic alphabet letters
Steps to Make Your Own Printing Press
Step 1: Decide on a message that you want to use on your printing press.
Step 2: Find plastic alphabet letters to write your message.
Step 3: Use long strips of packing tape to make a double sided surface. Attach one side to a piece of paper and the other side provides a place for the plastic letters to stick.
Step 4: Stick the plastic letters onto the tape. Make sure your message is taped on backwards for it to be printed correctly.
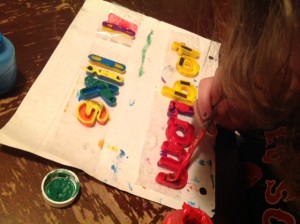
Step 5: Paint the letters liberally.
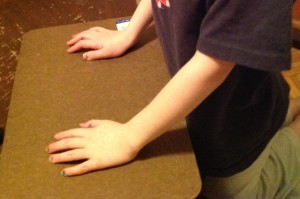
Step 6: Get a piece of paper and something with a hard and flat surface. We used a mini white board for our hard and flat surface. Put a piece of paper on the painted letters and press down the hard and flat surface on top of the paper to make an impression.
Step 7: Remove the printed paper and allow it to dry. Make more prints.
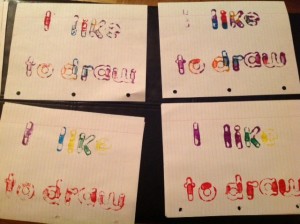
Step 8: Reapply paint to make even more prints.
Step 9: Remove the plastic letters and wash them in warm soapy water.